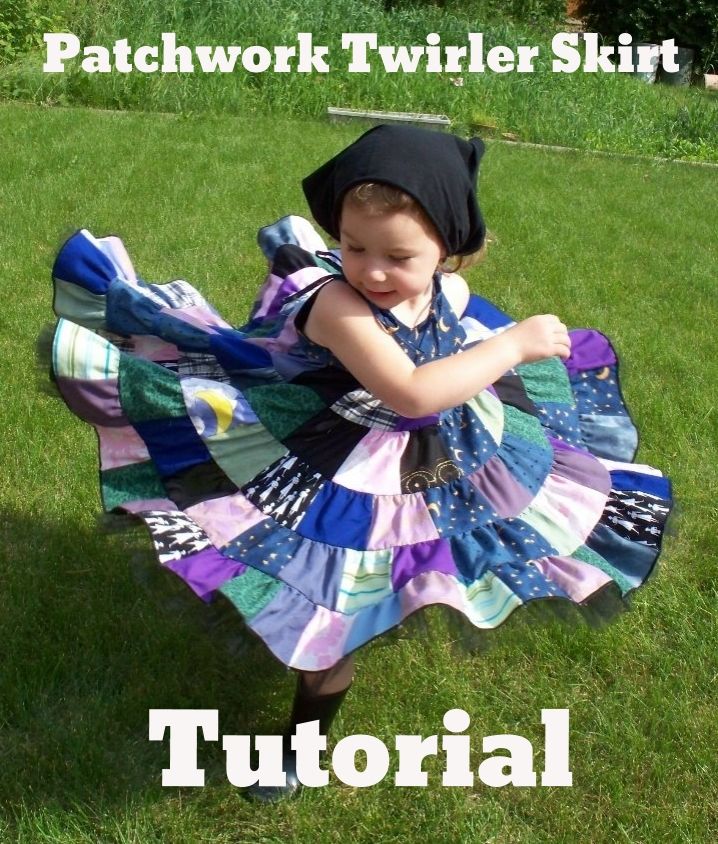
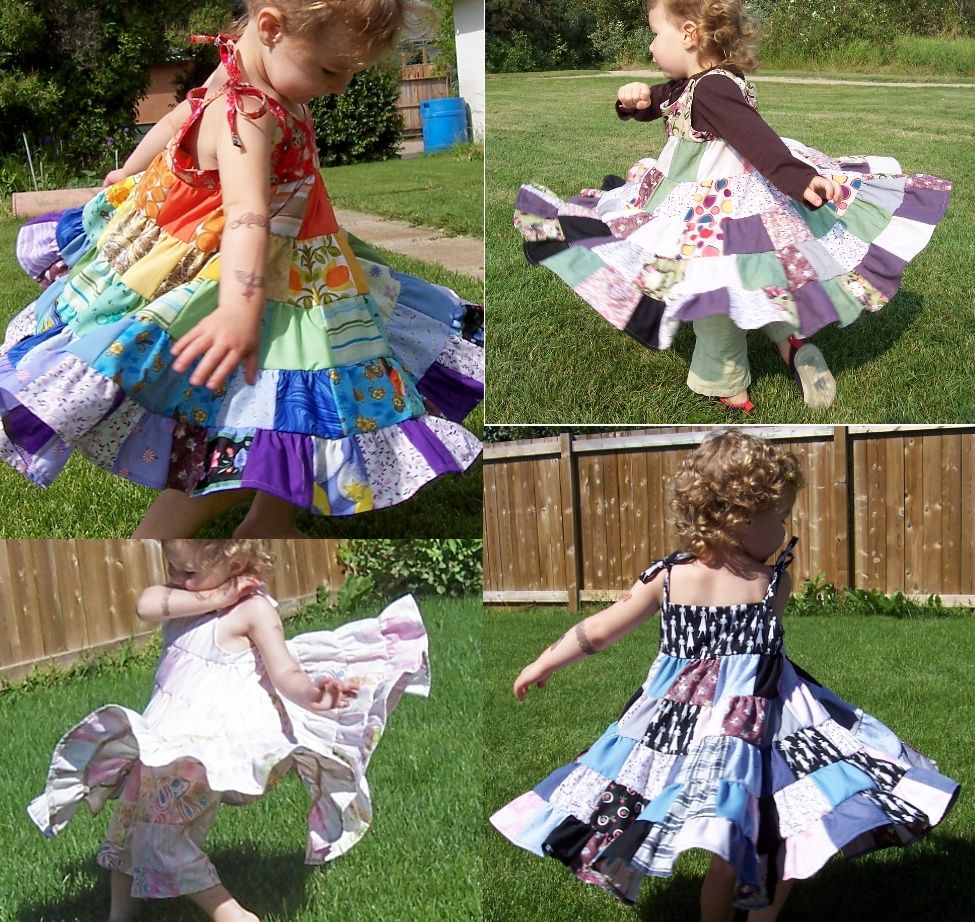
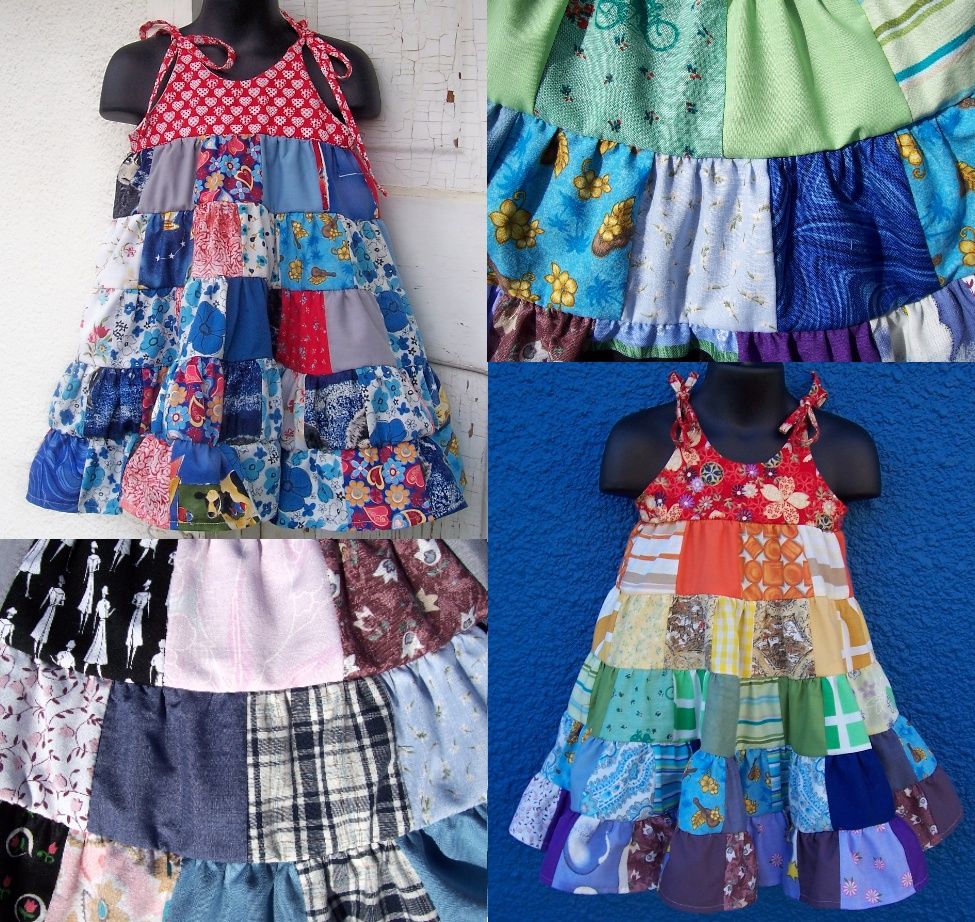
The tutorial that follows below is the instructions to make any sized tired patchwork skirt you desire. For those who choose to skip the math and would like a complete dress pattern, you can find a pattern for this dress at my Etsy.
The hardest part about this dress is not going bonkers while gathering the last layer. Make sure you have enough scrapes on hand, or head off to the thrift store for some pillow cases and free box goodies. Its best to have cotton-blends. Fabrics that have too much polyester will not iron well and do not make good patchwork. Try to find fabrics that are about the same weight, although this particular style is actually quite forgiving of odd ball pieces. And please note that I am using a 1/4" seam allowance. That mean each patch loses 1/2" in length as it is sewn.
A quick overview:
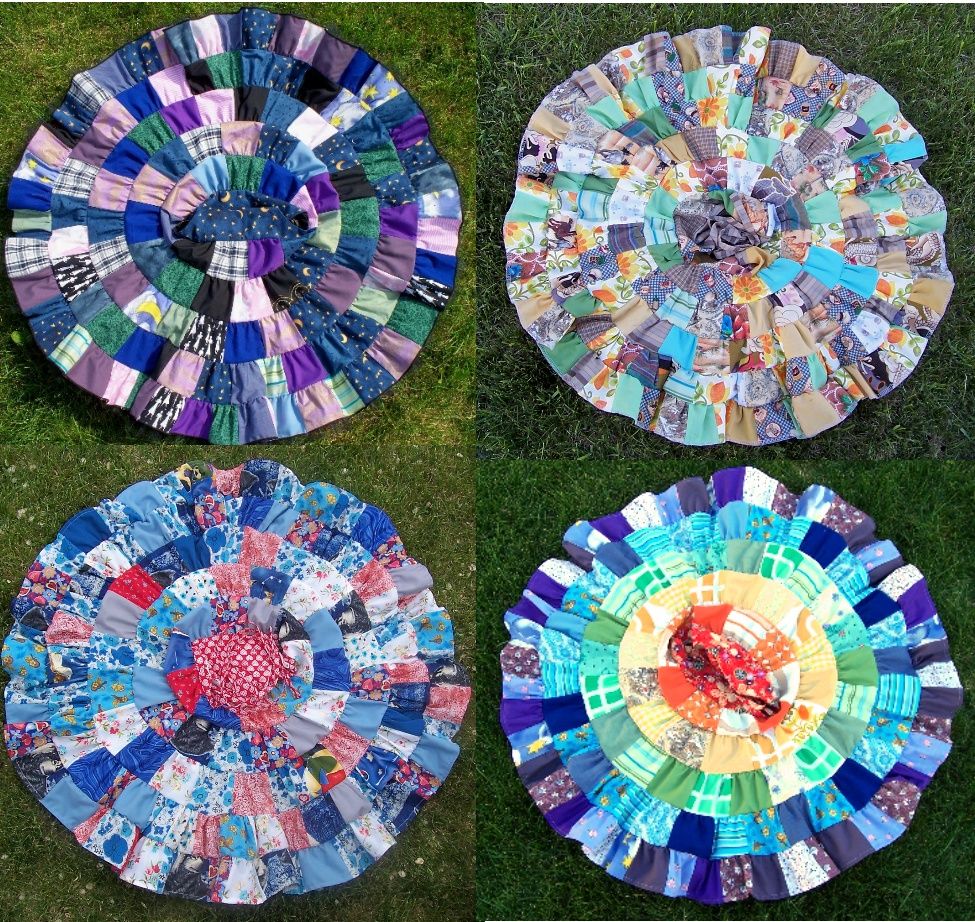
Tiered circle skirts like this one work by each successive layer being one and a half times longer than the last. Stitching together the patches is easy - you just sew the sides together to make a long chain of patches. All you need to figure out is how many patches go into your first layer, and then times that number by 1.5 for each layer you add. Sew the layers together by gathering the longer one and you have a skirt or dress that continues twirling long after you've fallen down.
To begin:
**determine how many patches you are going to need before you cut anything. You need to know the measurement of the waistband of the skirt (however you choose to rig that up) or as I did above, the length of the bottom of the little halter top of a dress.
We shall call this measurement 'A'.
**determine the size of your squares. Mine in these photos is 3". That is too small! Unless you are very anal, I'd suggest at least 4" for a child's dress and 6" or more for an adult skirt. You most likely won't want to do more than 5 or 6 layers, so figure out how long you want your skirt to be and divide that by 6 (keeping in mind you will lose 1/2" per square for seam allowance).
Length of the patch minus .5" for seam allowance shall be measurement 'B'.
**Now you want to figure out how many patches are equal to your measurement A.
A divided by B = C
Sample numbers for you. In the above photos, the halter top is 22". The patches are 3"
A = 22"
B = 2.5" (3" minus 1/4" seam allowance times 2)
22" / 2.5" = 8.8 (Round this up to 9)
C = the number of patches you need to stitch together to equal the the measurement of the A.
With me so far?
**Your first layer of the skirt we will call D:
C x 1.5 = D
Sample numbers:
C = 9 patches
9 x 1.5 = 13.5 (round up to 14)
Thus you need 14 patches for your first layer.
**for your second layer (we'll call F)
D x 1.5 = F
**for your third layer (G)
F x 1.5 = G
** and so on for how many layers you desire. (But no more than 6, because that's just crazy).
** add up all of your totals to determine how many patches you need overall. And then go ahead and cut. And cut. And cut.
** stitch together your patches in lengths indicated by your D, F, G, ... measurements, and join the ends for form rings.
** to form the circle itself, gather the 2nd layer by stitching a row with elastic thread or by machine basting two rows and pulling the threads to gather. (Gathering is a skill you learn by practice, and luckily, you will have much with this project.) Stitch the top (gathered portion) of your 2nd layer to the bottom of your first layer.
** gather in each successive layer and stitch to the bottom of the one above. In this way, your circle gets bigger and your skirt gets longer.
** the last few layers will become ungainly - do not be scared! The proportions of what you are sewing are constant, only the length of the hem is increasing. It will take much longer to sew the last layer versus the first, but I'm thinking that if you've gotten this far, you won't be giving up.
Measurements for a Toddler size 2/3:
22" chest
3" patch
22 divided by 2.5 = 9
first layer: 10 patches (I didn't increase the first layer because I wasn't thinking - d'oh)
2: 13
3: 21
4: 30
5: 46
6: 68
total: 188 square patches
(Just so you know, that is over 14 feet long.)



 -Then put on bottom snap in appropriate spot (again, wiggled into pouch). I find rubbing a bit of chalk on the top snap and then pushing it down to wear it will sit helps me get the bottom snap in the right place.